Creating an NFT means turning a media asset and its metadata into a token that a wallet and marketplace can identify. The work is not finished when the image is uploaded: the creator still needs to choose a chain, define ownership and supply, prepare metadata, mint the token, verify the result, and explain what the buyer receives.
The safest approach is to build one test item before launching a collection. That test exposes broken media, wrong trait values, unexpected fees, contract mistakes, and marketplace display problems while the cost of correction is still manageable.
The NFT creation workflow
| Stage | What the creator decides | Output to verify |
|---|---|---|
| Concept | What the NFT represents and why it should exist | Clear use, audience, and collection scope |
| Media | Image, animation, audio, or 3D asset | Correct format, dimensions, file size, and ownership rights |
| Metadata | Name, description, attributes, and media URI | Valid JSON and stable field names |
| Contract | Chain, token standard, supply, and permissions | Deployed contract address and creator controls |
| Minting | Which token IDs are created and assigned | Transaction receipt and token ownership |
| Verification | Whether wallets and marketplaces read the item correctly | Correct image, traits, collection, and token ID |
| Listing | Price, currency, royalties, and buyer instructions | Visible listing with accurate final terms |
This sequence keeps the creator from treating minting as the whole project. A token that points to missing media or unclear metadata is technically minted but not ready for a buyer.
Define the concept before choosing tools
Start with the buyer’s reason to care. A collectible may be valued for art, membership, access, identity, or use inside a game. Those purposes lead to different metadata, supply, update rules, and support expectations. Do not promise utility that the product cannot currently deliver.
For a collection, write down the total supply, token naming pattern, edition structure, traits, rarity logic, and whether future items can be added. If the collection has only one token, the process is simpler; if it has thousands of generated items, the creator needs a repeatable media and metadata pipeline before minting.
The concept should also establish what is licensed. Owning an image file is not automatically the same as owning the commercial rights to mint and sell it. Keep the source files, licenses, creator agreement, and final media hash with the project records. The creator can later choose a marketplace such as OpenSea, Rarible, Foundation, or Zora, but the platform choice should follow the collection’s audience and sale workflow.
Prepare the media and metadata
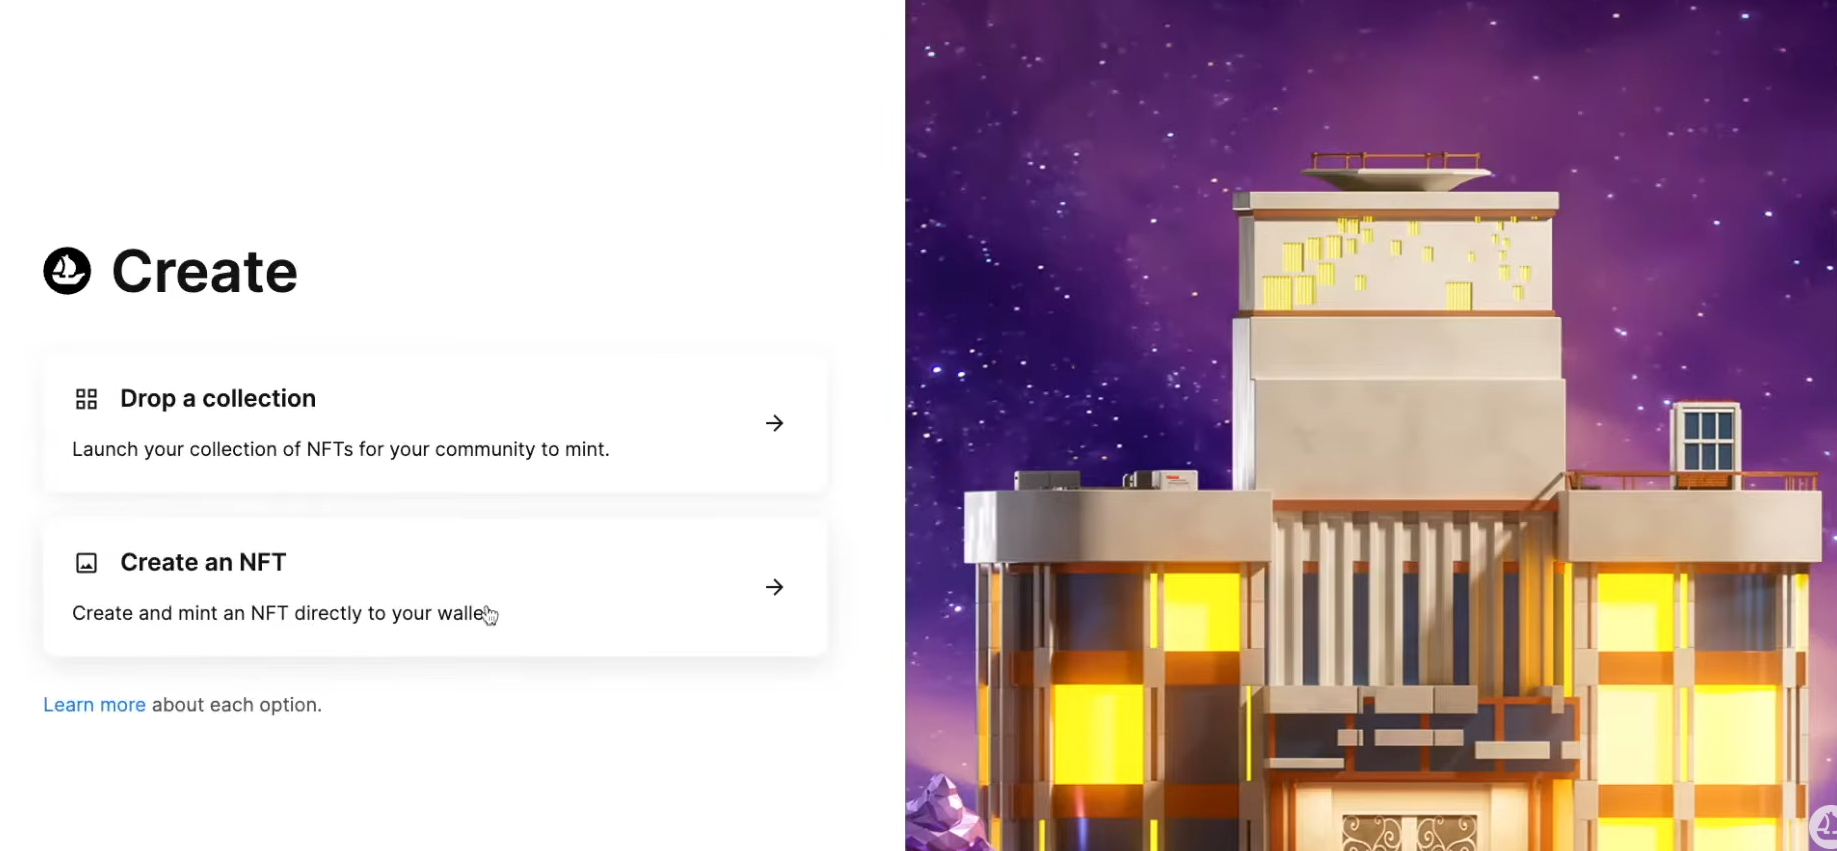 decoding="async" referrerpolicy="no-referrer" decoding="async" src="/wp-content/uploads/2026/08/image-5-1024x474.png" alt="" class="wp-image-10379" title="">
The media file is what the buyer sees, while metadata tells a wallet or marketplace how to label and describe it. Use a stable filename and test the asset outside the marketplace before minting. Check transparency, animation playback, audio, 3D preview, dimensions, compression, and color profile.
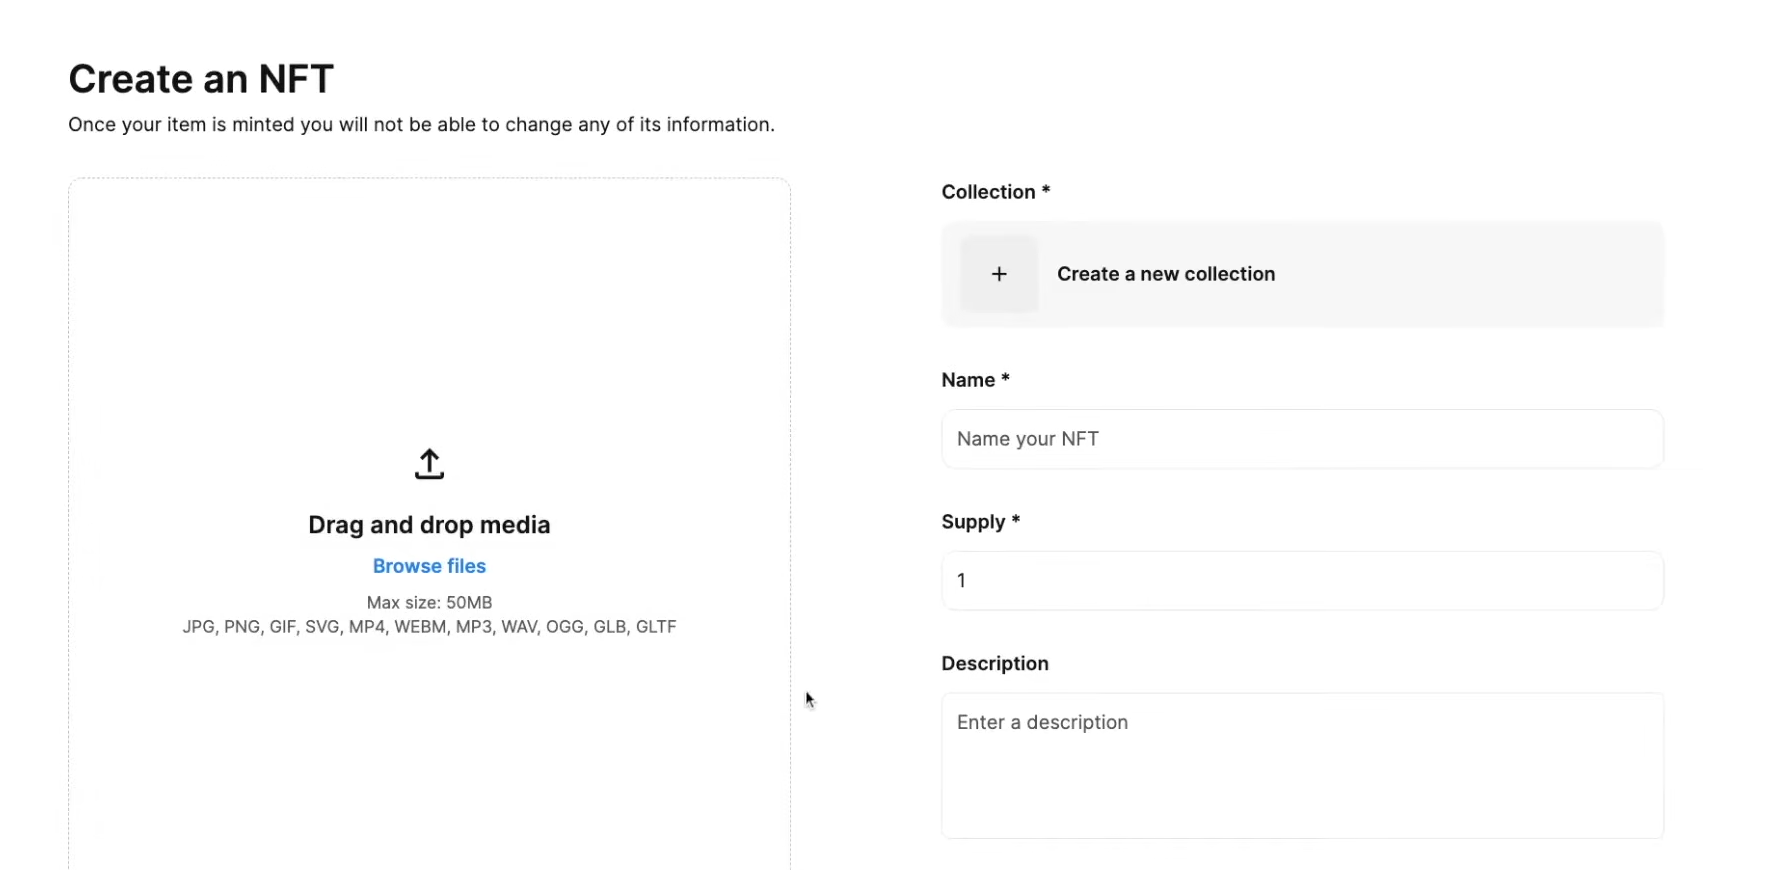
A basic metadata record can include:
- Name: the token or edition name shown to buyers.
- Description: what the item is, what it represents, and any relevant limitations.
- Image or media URI: the location of the asset file.
- Attributes: structured traits such as background, class, edition, or membership tier.
- External reference: a page where the buyer can verify the collection or utility.
Use consistent attribute names across the collection. “Background,” “background color,” and “bg” may describe the same trait to a human but create separate filters in a marketplace. A metadata strategy also needs an update policy: decide which fields are permanent, which can change, and how a change will be disclosed.
The NFT marketplace infrastructure guide covers the storage and delivery decisions behind an NFT. The practical test is whether a fresh wallet can retrieve the metadata and render the media without relying on the creator’s local computer.
Choose the chain and contract model
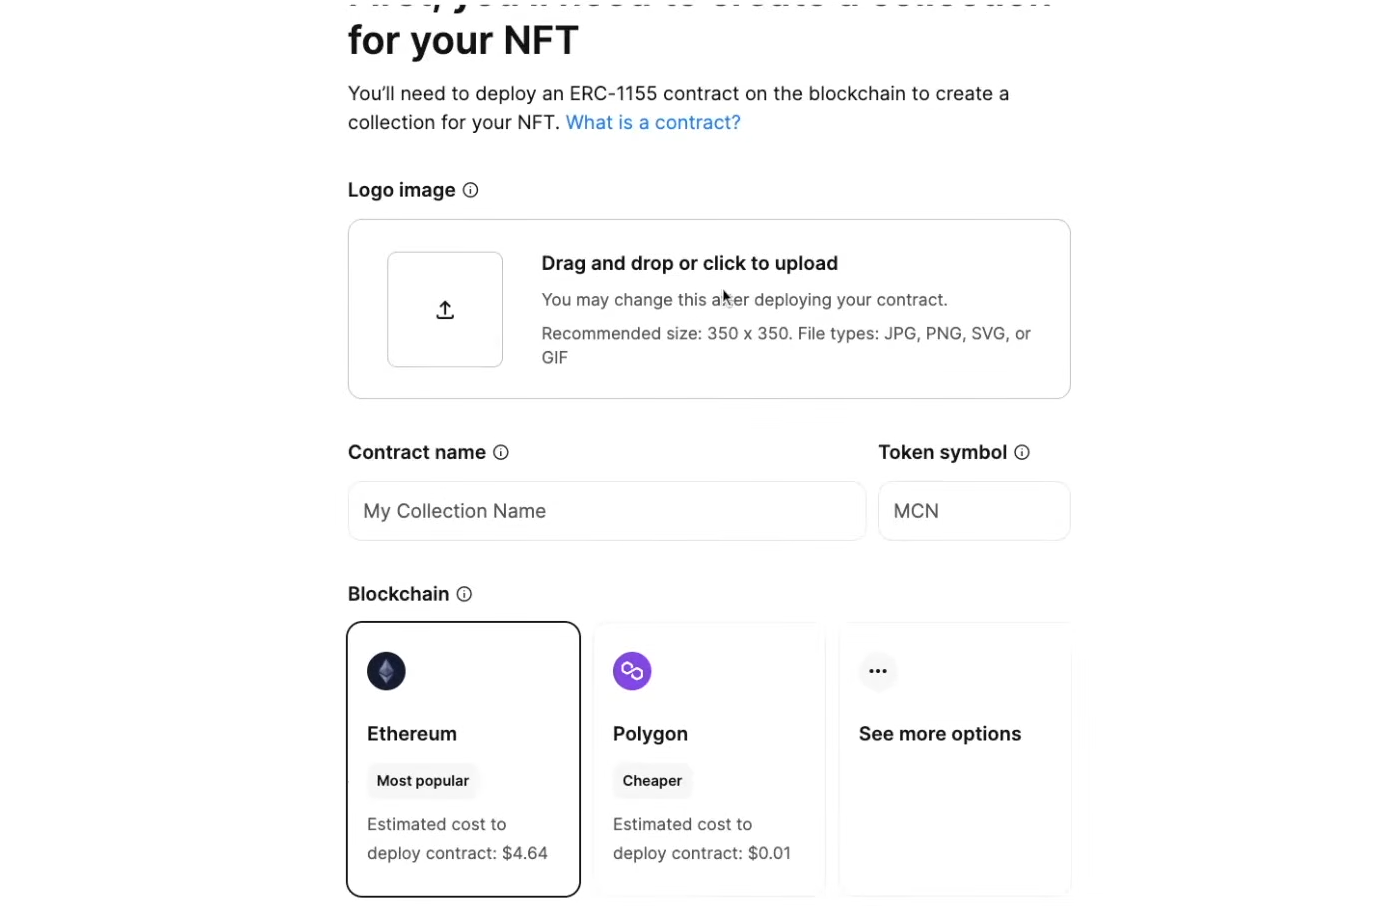
The chain affects wallet availability, transaction cost, marketplace reach, confirmation behavior, and the audience you can realistically serve. Choose from the buyer workflow rather than selecting a network only because it is popular.
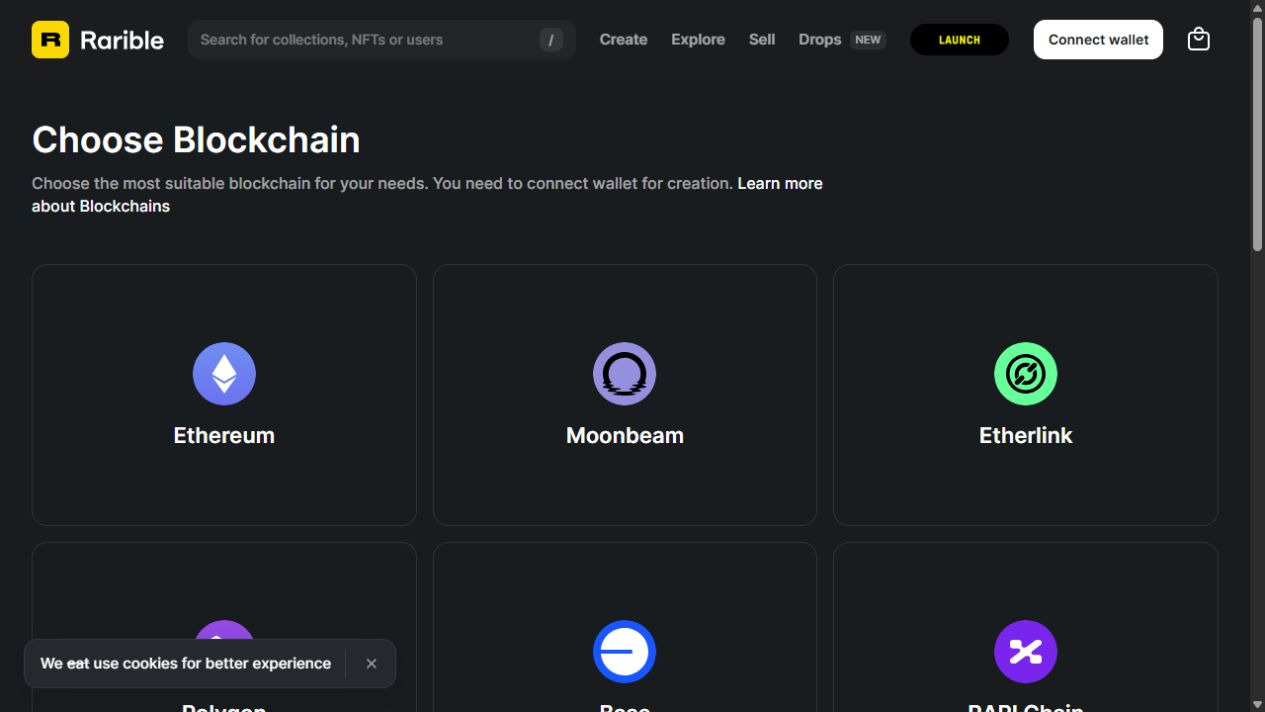
The contract model also matters. A standard collection contract may be enough for a simple fixed-supply drop. A creator with evolving traits, royalties, editions, access control, or game utility may need a more deliberate contract design. Document who can mint, pause, burn, update metadata, withdraw funds, or change collection settings.
Before deployment, test the contract and metadata on a test environment. Review the collection name, symbol, token numbering, mint permissions, supply cap, transfer behavior, and withdrawal path. The NFT selling guide explains the listing lifecycle, while this article focuses on the creator’s asset and collection setup.
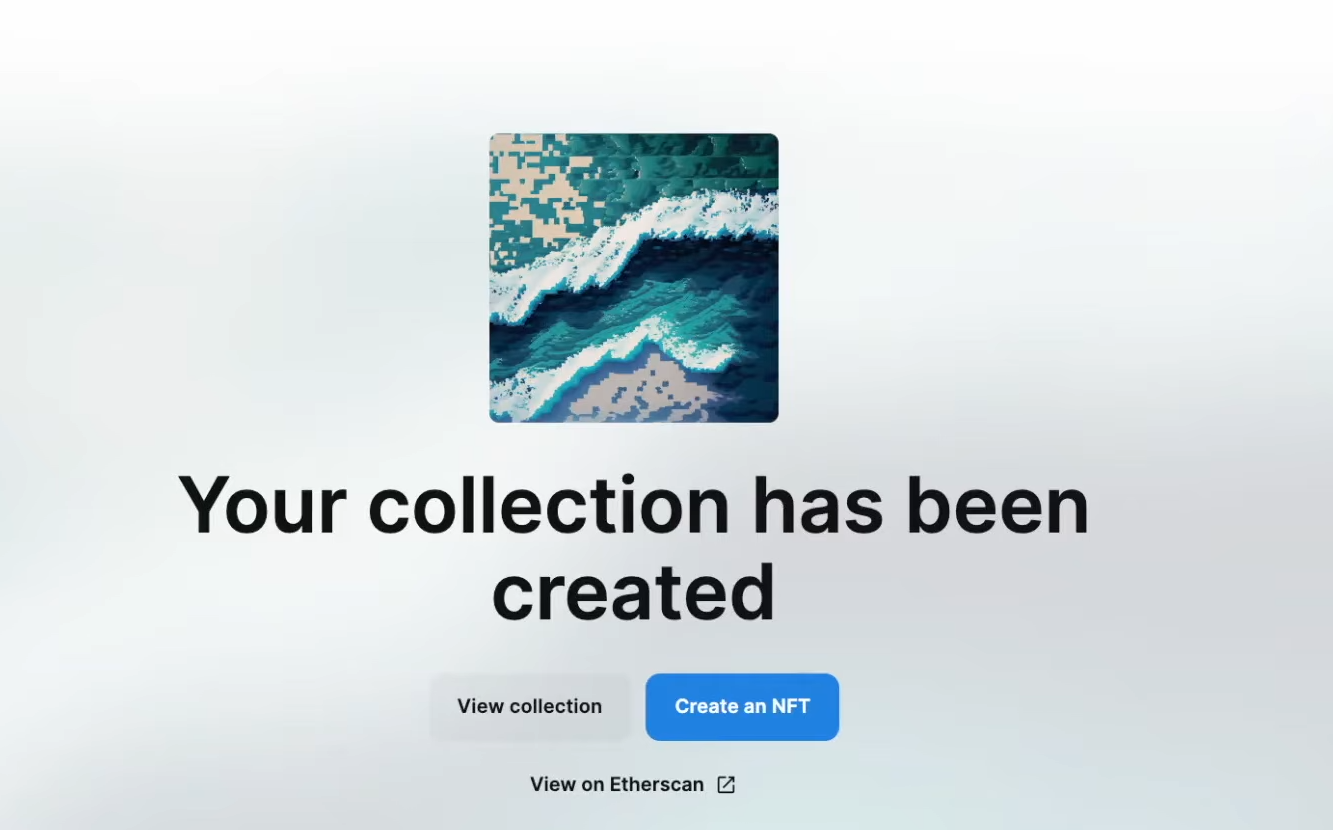
Mint one test NFT first
The first mint should be treated as a production rehearsal. Upload one media file, create one metadata record, mint one token, and inspect it from a separate wallet. Check the token ID, owner address, collection name, image, traits, external link, and transaction receipt. The comparison of in-game and standalone NFT markets is useful here because a technically valid token can still be presented with confusing ownership, utility, or checkout information.
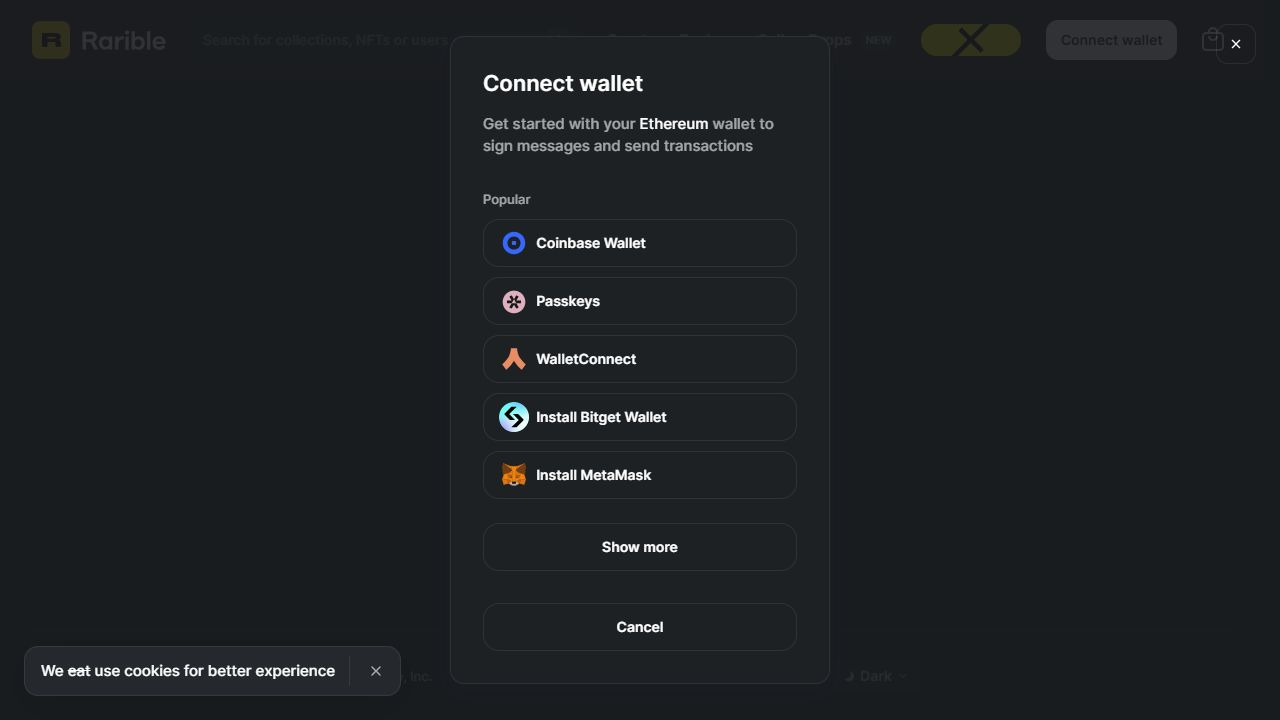
Then test the buyer path. List the token, open the item from a private browser session, connect a wallet that has not created it, review the price and fees, and cancel the listing if the workflow allows it. If the marketplace displays a blank image, wrong trait, missing collection, or unexpected currency, fix the source before expanding the collection.
Mint the collection and verify every output
After the test passes, mint the planned supply in controlled batches or a documented release. Record each token ID, metadata URI, media hash, owner, transaction hash, and any failed transaction. A spreadsheet or release manifest makes it easier to find a wrong trait or duplicate file later.
Verification should happen at three levels:
- Chain level: contract address, token ID, owner, supply, and transaction receipt.
- Metadata level: JSON validity, attribute names, URI resolution, media playback, and update policy.
- Marketplace level: collection presentation, item image, filters, traits, creator identity, listing terms, and buyer instructions.
Do not assume that a successful transaction means every marketplace has indexed the item correctly. Indexing can lag, media gateways can fail, and a mutable metadata field can display differently after an update. Keep a dated verification record for the launch.
List, communicate, and support the NFT
Listing is the commercial step after creation. Set a price and currency that the target buyer can use, show the final cost where possible, explain royalties, and state what ownership does and does not provide. If the NFT grants access, membership, or game utility, link to the product rule rather than making a vague promise.
The seller workflow in How to Sell an NFT covers listing decisions in more detail. A creator should still prepare a support path for wrong recipient addresses, failed minting, metadata errors, counterfeit collections, and buyers who cannot see or use the token after settlement.
Key features of a launch-ready NFT
- Clear collection identity: buyers can distinguish the official collection from copies.
- Consistent metadata: names, traits, descriptions, and media references follow one schema.
- Verifiable ownership: the creator can show the contract, token IDs, and mint records.
- Predictable buyer path: the listing exposes price, currency, fees, and what ownership unlocks.
- Recoverable operations: the team has records and procedures for failed transactions and metadata issues.
Common creation mistakes
- Minting before testing one item from a separate wallet.
- Using inconsistent trait names that break marketplace filters.
- Linking to local files, temporary gateways, or unstable media URLs.
- Promising game utility or access before the product can verify entitlement.
- Forgetting who controls minting, metadata updates, withdrawals, and contract permissions.
- Treating a marketplace listing as proof that the collection is authentic or valuable.
Conclusion
The strongest NFT creation process is not the fastest upload. It is a controlled path from concept and rights to tested media, structured metadata, a documented contract, a verified mint, and a listing that tells the buyer exactly what they receive. Create one token first, inspect it through a second wallet and marketplace, record the result, and only then scale the collection.
Frequently asked questions
Do I need coding skills to create an NFT?
Not always. No-code tools can handle parts of the workflow, but the creator still needs to understand media rights, metadata, wallet approvals, fees, contract permissions, and how to verify the minted token.
What files are needed to create an NFT?
Usually a media file and a metadata record. The exact fields depend on the asset, but a name, description, media URI, attributes, and collection reference are common requirements.
Should I create one NFT or a collection?
Create one test NFT first. A collection requires consistent naming, traits, supply rules, metadata generation, mint records, and a plan for future updates or support.
Can I change NFT metadata after minting?
It depends on the contract and metadata design. Some fields are immutable, while others can change through an authorised update path. Explain that policy before buyers rely on the displayed attributes.
Disclaimer: This article is for research and editorial comparison purposes only. It does not constitute financial, investment, legal, or tax advice. NFT tools, marketplaces, fees, chain support, and live availability can change quickly, so verify current conditions on the official platform before making any decision involving funds, assets, or private keys.